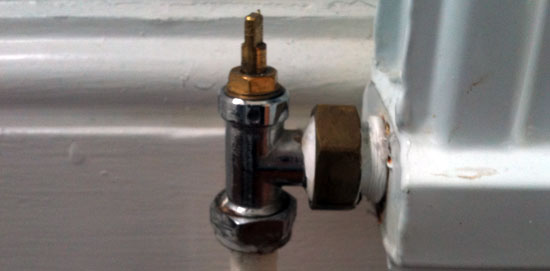
How to remove a radiator for decorating
Stage 1
Caution: Good preperation is essential when removing a radiator as a water leak can cause damage to lower ceilings and walls.
Start by closing the lockshield valve, make a note of how many turns it takes to close it. This is so you can open it back up with the same amount of turns to keep the radiators balanced.

Next close off the thermostat or handwheel valve.
Some thermostats won’t fully close, to fix this unscrew the thermostat head and place a 5p coin inside and screw back on this will push the pin further down and close the valve
Stage 2
Place a plastic container under the union valve and have another larger container ready as the smaller one will need emptying as you go. Start by loosening the union valve nut taking care not to twist the valve on the the pipe. Use another spanner on the valve to stop the twist. Water should star to pour out, you can speed up this process by opening the bleed valve to let air into the radiator.
Once the water stops running out, undo the nut on the thermostat valve and lift the radiator of the the wall and pour the remaining water into your container.
Caution: Radiators can be very heavy and it is advisable to have help when lifting radiator off the wall.
Stage 3
Remove the brackets from the wall by unscrewing them. Replace the scews back into the wall so you can find the holes again after decorating.